Showing posts with label Baking. Show all posts

Monday, October 26, 2015

Pink Ribbon Breast Cancer Awareness Cookie Recipe

Pink Ribbon Breast Cancer Awareness Cookies


October is Breast Cancer Awareness month. 

Many of us have been touched by either a family member or a friend who has fought and won, and sometimes lost the battle to this disease. There are new breakthroughs in treatment and treatment options each year, as they get closer to a cure. 

You can help bring awareness to the fight with these cookies. 

Cookie Ingredients:
2 1/2 C flour
1 tsp baking soda
1 tsp cream of tarter
1 1/2 C powder sugar
1 egg
1 tsp vanilla
1 C softened unsalted sweet cream butter

Cookie cutter:
Ribbon

Royal Icing Ingredients:
2 egg whites
1 C powder sugar
1/2 tsp cream of tartar
1 tsp vanilla
pink gel food coloring


Cookie Directions:
-cream butter, sugar, vanilla and egg in a mixing bowl until well combined.
-in a small bowl add the dry ingredients and mix until combined.
-gradually pour in dry ingredients into the wet ingredients bowl and mix until well combined.
-once all ingredients are mixed and a dough ball has formed. (if still sticky add in a half cup of flour and mix until a firm ball of dough forms.) place dough into a ziplock bag or in a bowl with foil to place on top.
place in fridge for 2 hours so that the dough can rise. it won't double in size like bread dough.
-pull out of fridge and let it sit on the counter for 1 hour.
-preheat oven to 350
-roll dough out and using the ribbon cutter upside down, cut out cookie. 
-place on parchment covered cookie sheet.
-bake for 8 minutes.

Icing Directions:
-separate the egg yolk from the whites. put the egg whites into a mixing bowl and trash the rest of the egg.
-add the sugar, cream of tarter and vanilla extra to the egg whites.
-beat on medium speed for 6 minutes.
-if the icing has a yellow color and looks like soup add in more powder sugar. about 1 cup.
-once the icing is done, pour it into a container that has a lid to it.
-divide the icing into 2 bowls. Put the white icing into the first bowl.
-add in a few drops of pink coloring into the second bowl and mix until combined.
-scoop a small amount of the icing colors into 2 different piping bags that have a #2 icing tip on the bottom.


Cookies/Icing Directions: 
-outline each color in either the pink or white icing. Allow a few seconds to dry before filling them in.
-Squeeze out the majority of the remaining icing into a bowl.
-Add in 1-3 tablespoons of water to thin the icing out. you want it to be thick and runny, not soup like. If it is soup like add in 1/4 cup of powder sugar to thicken it.
-Spoon some of the thinner icing onto the ribbon cookie (the icing should match the outline color) then using a butter knife spread the icing throughout the cookie.
-Using the opposite icing color remaining in the piping bag dot a small amount of the icing and using a toothpick dipped into that dot to drag it out to look like a heart.
-Allow the iced cookies to dry for 5-10 hours.


Grandma, I still think of you, Gloria Ellen Capdepon Bolin each and every day. You are missed and loved, and will live forever in my memories. XOXOXO


(All posts may contain affiliate links. Read my disclosure policy here.)


Click here to support my blog on Top Mommy Blogs

Monday, October 12, 2015

12 Tasty Apple Treats

12 Tasty Apple Treats


My family and I love everything Apple! The girls and I have made it our mission this year to try all the different types that we find at the grocery store, and we have discovered so many new kinds that we love! There are so many different types, and I know we have barely even scratched the surface! Inspired by our Apple "Research," I started looking up Apple recipes too. 

So whether Granny Smith, or Fuji, Honey Crisp, WildTango, Gala, Golden Delicious or another kind is your favorite, there is sure to be an Apple recipe in this list to make every Apple fan happy! Enjoy!


Caramel Apple Crepes

Apple Streusel Pancakes

Apple Pie Dip

Whole Grain Apple Oatmeal Muffins

Sheet Pan Apple Crisp Recipe

Apple Pecan Pastry 

Apple Butter Popcorn

Apple Pie Enchiladas

Fruit Leather From Applesauce

Homemade Cinnamon Applesauce

Apple Pie Granola

Easy Apple Cinnamon Rolls with Cream Cheese Frosting


Do you have a favorite Apple, or Apple recipe? Share it with me! I would love to try a different kind or a new recipe!


(All posts may contain affiliate links. Read my disclosure policy here.)


Click here to support my blog on Top Mommy Blogs

Saturday, December 13, 2014

Soft Christmas Cookies

Soft Christmas Cookies 


Christmas Sugar Cookies
Soft Christmas Cookies Photo by MDarling

It really is the most wonderful time of the year, isn't it? Hot Cocoa and Cookies is just one of the great things the girls and I look forward to each and every holiday season. This is one of our favorite recipes, and best a little warm, (or maybe that is just because we are impatient) and although that beautiful picture depicts fantastically lovely decorated cookies, the ones we decorate, if we even get to the decorating, are not quite as pretty. To be honest, that is part of the fun! The kids and I decorating them with colored sugars or different colors of icing, and sharing them with family and friends. It makes cleaning up the mess and the inevitable spilling of one ingredient or many all worth it! 

Makes 4 Dozen

Ingredients:

3 3/4 cups all-purpose flour
1 teaspoon baking powder
1/2 teaspoon salt
1 cup margarine, softened
1 1/2 cups white sugar
2 eggs
2 teaspoons vanilla extract

Directions:

1. Sift flour, baking powder, and salt together, set aside. In a large bowl, cream together the margarine and sugar until light and fluffy. Beat in the eggs one at a time, then stir in the vanilla. Gradually blend in the sifted ingredients until fully absorbed. Cover dough, and chill for 2 hours.

2. Preheat oven to 400 degrees F (200 degrees C). Grease cookie sheets. On a clean floured surface, roll out small portions of chilled dough to 1/4 inch thickness. Cut out shapes using cookie cutters.

3. Bake 6 to 8 minutes in the preheated oven, or until edges are barely brown. Remove from cookie sheets to cool on wire racks.

4. When cookies are cool, decorate to your hearts desire! 

Shopping list:
Eggs [2]
Check - All-purpose flour [17 oz.]Baking powder [1 teaspoon]Salt [1/2 teaspoon],Margarine [8 oz.]White sugar [11 oz.]Vanilla extract [2 teaspoons]


(All posts may contain affiliate links. Read my disclosure policy here.)


Click here to support my blog on Top Mommy Blogs

Wednesday, November 26, 2014

Cooking With Colavita Giveaway

Welcome to the Cooking With Colavita Giveaway


Yum! An Italian Gourmet Gift Basket is being given away! Make sure to enter below for your chance to WIN BIG!


Thank you for visiting and Good Luck!


Hosted by: SaraLee's Deals Steals & Giveaways 

Sponsored by: Colavita


The Colavita Story:
The Colavita family traces its roots to the small town of Sant'Elia a Pianisi, in the Molise region of Italy. It was there, four generations ago, that Giovanni Colavita founded the family olive oil tradition and Colavita Extra Virgin Olive Oil was born. Over the years, the Colavita family became masters at the delicate crafts of & tasting and blending extra virgin oils from different types of olives grown in Apulia and nearby regions. This skill enabled the family to produce 100% Italian extra virgin olive oil with a consistent fine quality – a skill that sets Colavita apart today from the other leading brands.

Today, the Colavita’s main focus is still bringing consumers authentic Italian extra virgin olive oil; however, the Colavita brand has grown to include many other quality specialty food products that are sold in over 60 countries. Colavita durum wheat semolina pasta, a full selection of balsamic and wine vinegars, traditional and organic pasta sauces, ready-to-serve soups and marinated vegetables, and olive-canola blended oils are the ingredients of choice for chefs in home, restaurant, and professional kitchens worldwide.


** One winner per household, email address, or home address. If you have won this prize on another blog you are ineligible to win again. Winners must have a U.S.-based address to receive their prize. **

Now for the giveaway: One lucky person will win a Colavita Simply Italian Gift Basket. This is open to US and ends 12/14/14 @ 11:59 pm est. To enter, Simply do the tasks on the Giveaway Tools widget below and you're set to have a chance to win! Remember you can't win if you don't enter. It only takes one entry to win!

Good Luck,  Thanks for entering!

Disclaimer: Please note that SaraLee's Deals Steals and Giveaways are not responsible for prize fulfillment.


(All posts may contain affiliate links. Read my disclosure policy here.)


Click here to support my blog on Top Mommy Blogs

Tuesday, November 18, 2014

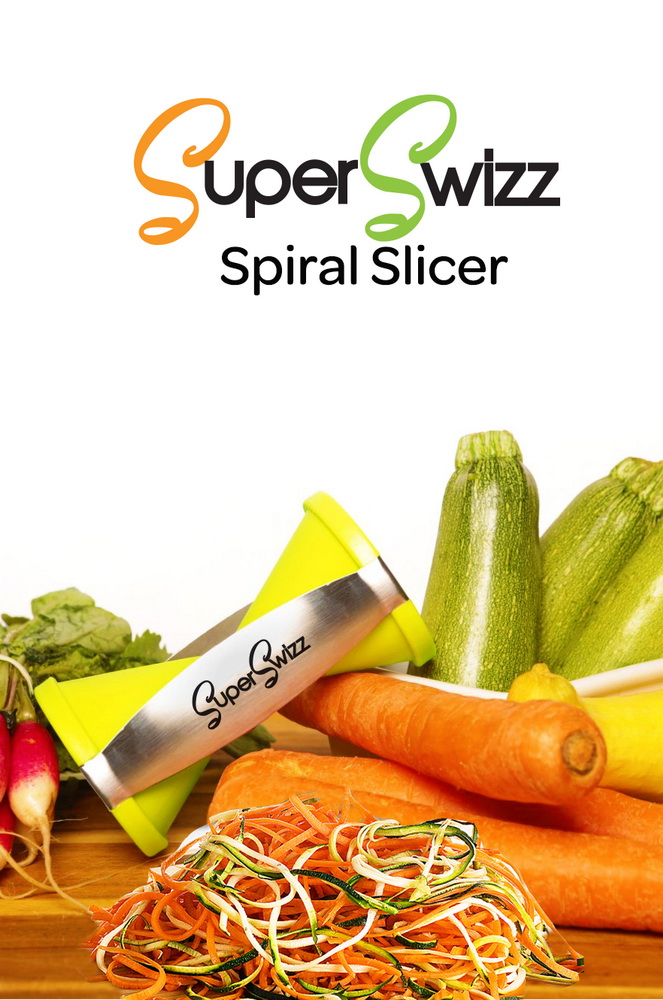
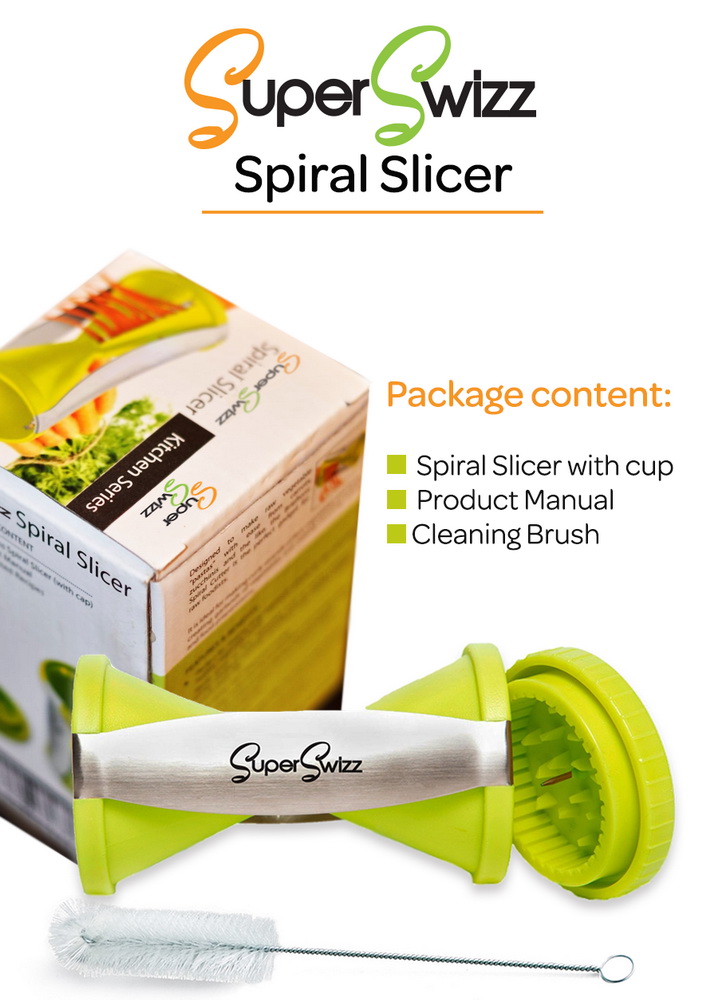
SuperSwizz Spiral Slicer Review


Super Swizz Spiral Slicer
Vegetable Spiralizer


SuperSwizz Spiral Slicer: Stainless Steel Vegetable Spiralizer with Special Japanese Blades 2 Julienne Sizes, Perfect Spiral Cutter for Low Carb Healthy Vegetable Meals - Best Spirelli Julienne Super Cutter for various Veggies such as Zucchini, Paderno & Carrots - As seen on numerous cooking shows it's Perfect for Low Carb Heart Healthy meals - With Manual and Cleaning Brush

  • ★ Top Quality Spiral Slicer - Spiralizer with Bonus Brush for Easy Cleaning

    ★ Feature: Special, sturdy Japanese blades made of stainless steel Create endless Julienne strips Two Julienne sizes - 2x3 mm and 3.5x5 mm 
  • Dishwasher - safe Stainless steel / plastic

    ★ Easy and quick to operate, small enough to fit into your kitchen drawer, and works better than expensive spiral cutter products

    ★ Comes complete with a KITCHEN BRUSH, DETAILED OPERATING INSTRUCTIONS.

    ★ Designed to make raw vegetable "pastas" with ease from carrots, zucchinis and the like, the SuperSwizz Spiral Slicer is the perfect gadget for raw foodists. From veggie spaghetti, easy stir fry, to fancy garnishes for the sushi plate, this spiral cutter makes it all so easy. It is ideal for making curly strands of firm vegetables, creating garlands of vegetables, making stunning salads and food preparations. Creating easy and healthly meals -

    ★Simply use this vegetable spiralizer like a pencil sharpener. There will be a little leftover (like a pencil-sized core) which you can easily slice as normal. SuperSwizz Spiral vegetable slicer can cut spirals in 2 thicknesses (2x3mm & 3.5x5mm).


The Super Spiral Slicer is a fun little kitchen gadget, and the kids love it! I was a little frustrated at first, as it takes a little getting used to. There is a learning curve, but once I got the hang of it, it was fun and made the cute little spirals that it advertises. I made cute little carrot spirals. I made cute zucchini spirals. And then I couldn't think of any other veggies to try it with. But I wanted to make more! And my kids really wanted more too. Which was awesome that they wanted to eat vegetables without giving me any problems. It was kind of like using a big pencil sharpener, but like I said, it took me a minute to get my vegetable spiralizing (is that a word) technique down. But once I got it, it was on! If I could have thought of any other vegetables to spiralize, I would have! 
My family and I enjoyed using the SuperSwizz Spiral Slicer, and my kids ask me to make spiral veggies for dinner. Check it out! I bet your kids will like it too.

I received one or more of the products mentioned above for free using Tomoson.com. Regardless, I only recommend products or services I use personally and believe will be good for my readers.

(All posts may contain affiliate links. Read my disclosure policy here.)


Click here to support my blog on Top Mommy Blogs

Tuesday, November 4, 2014

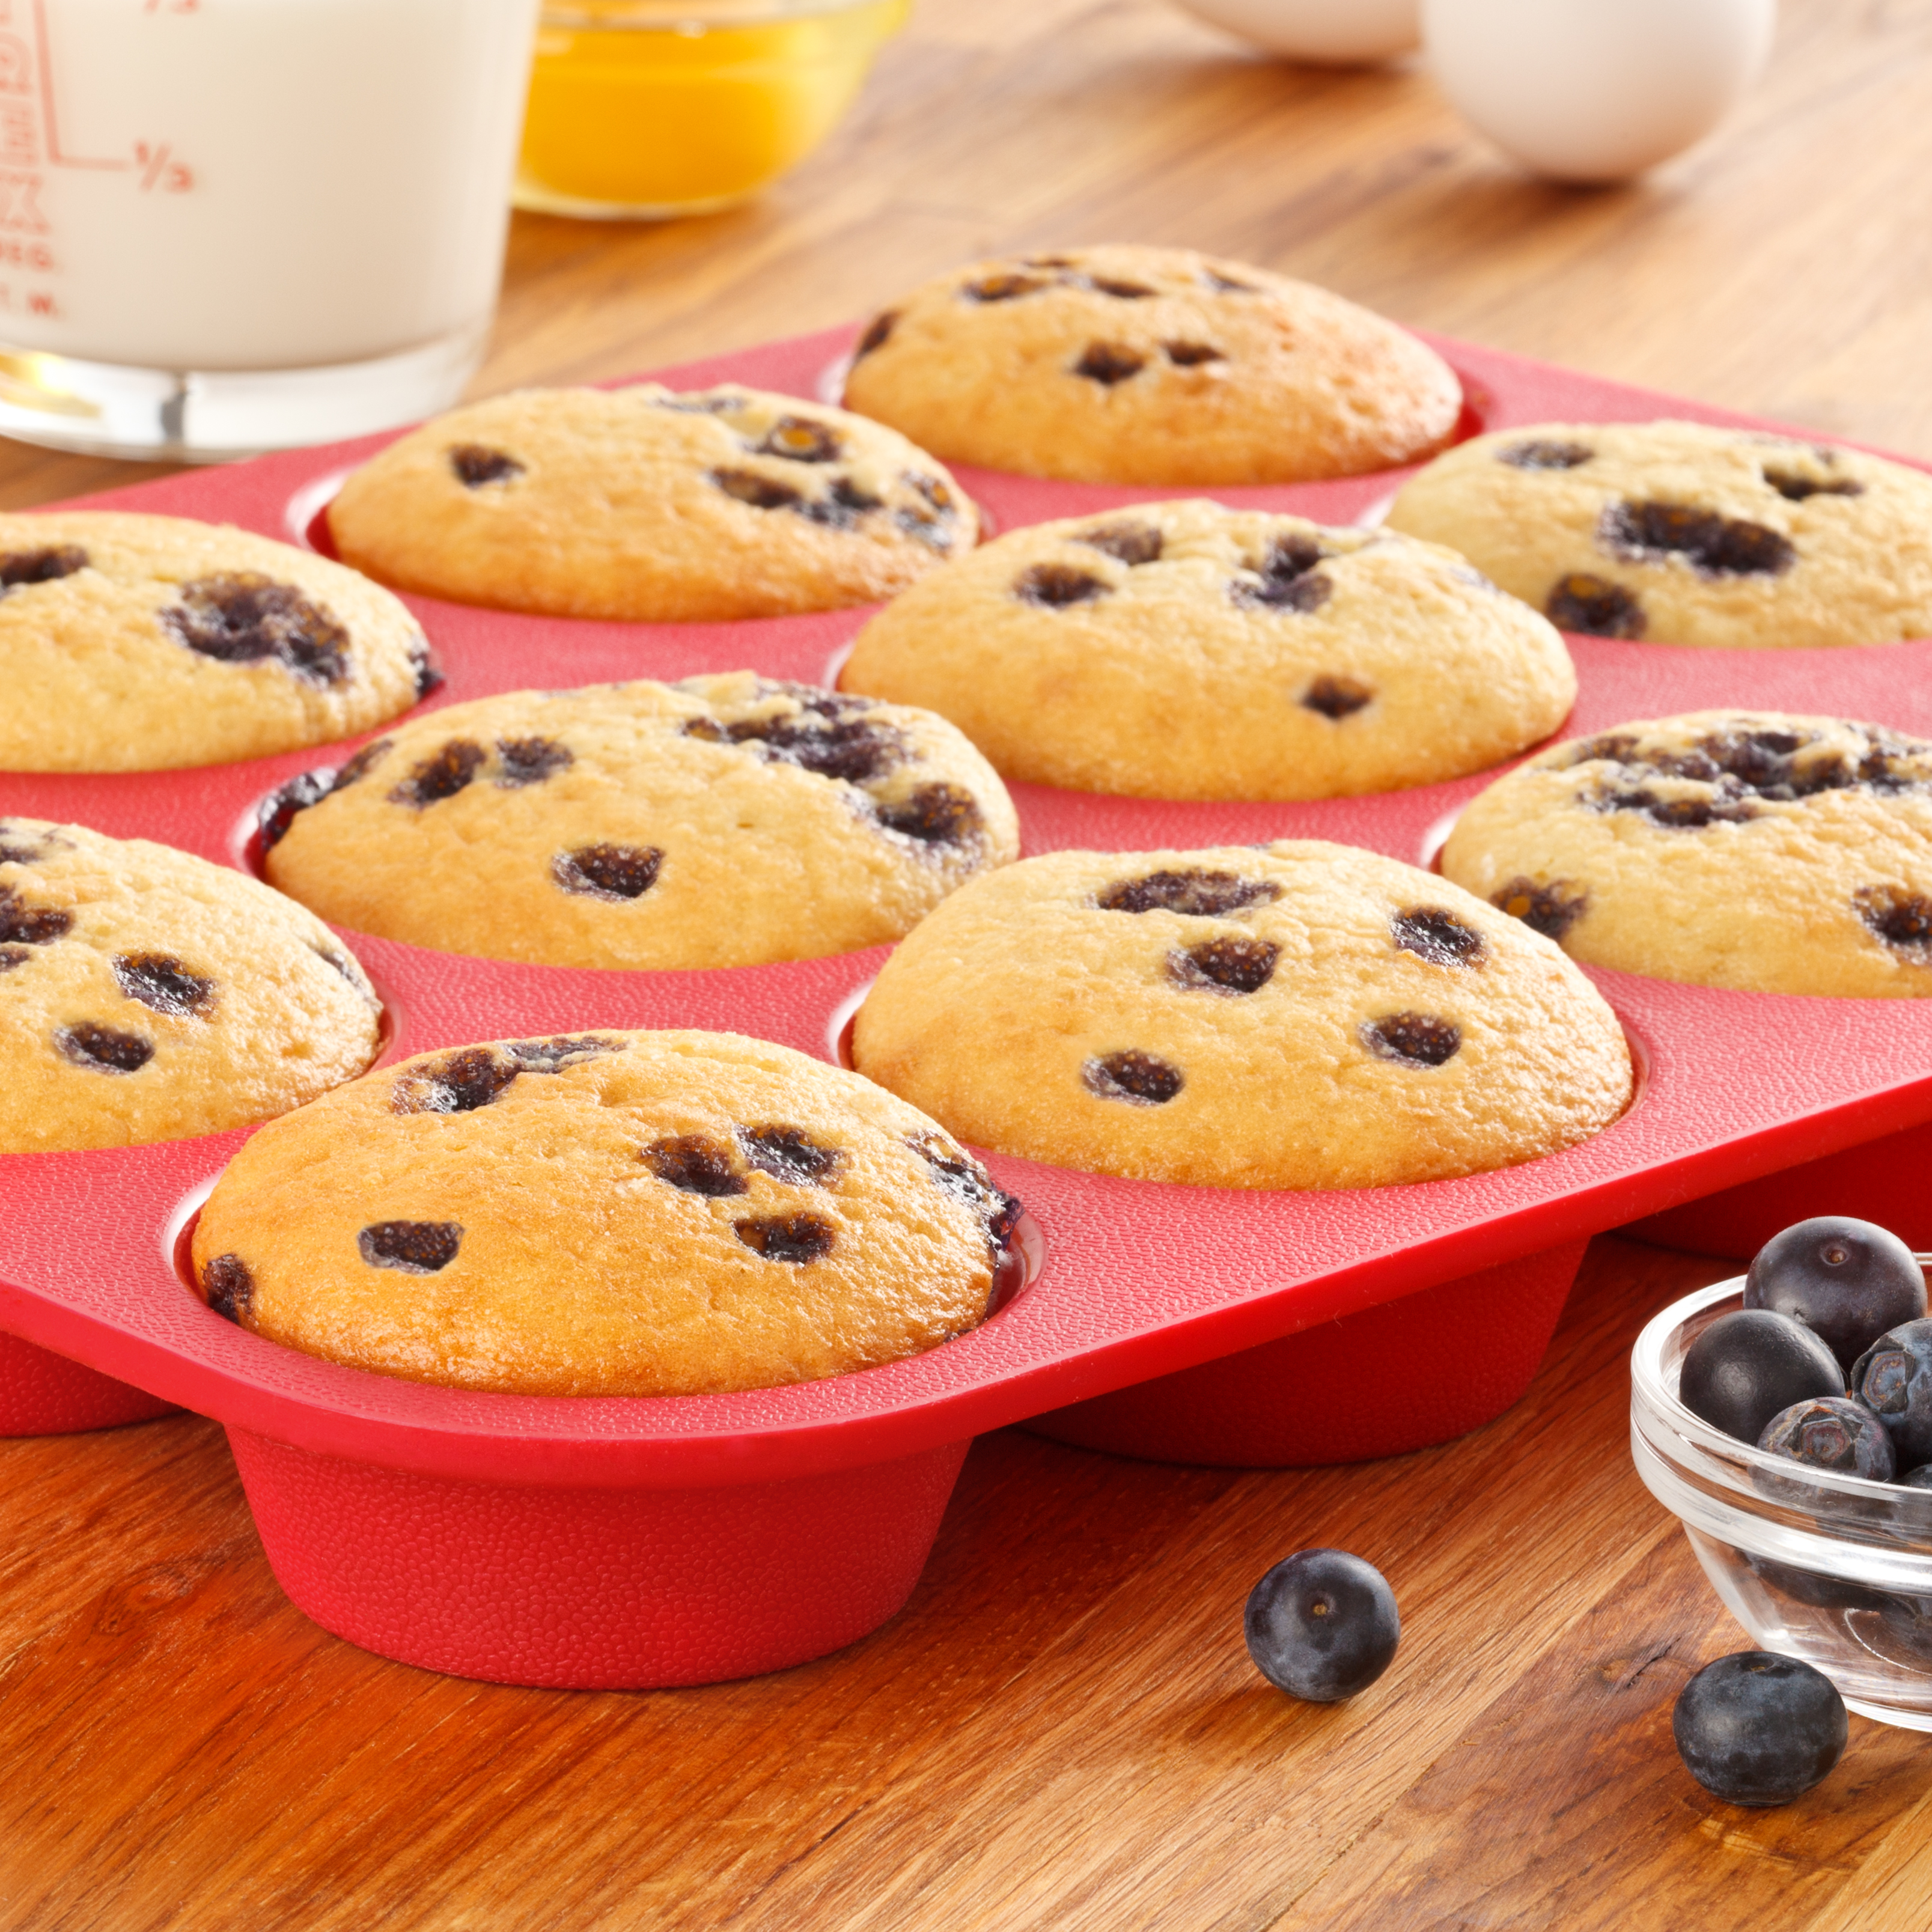
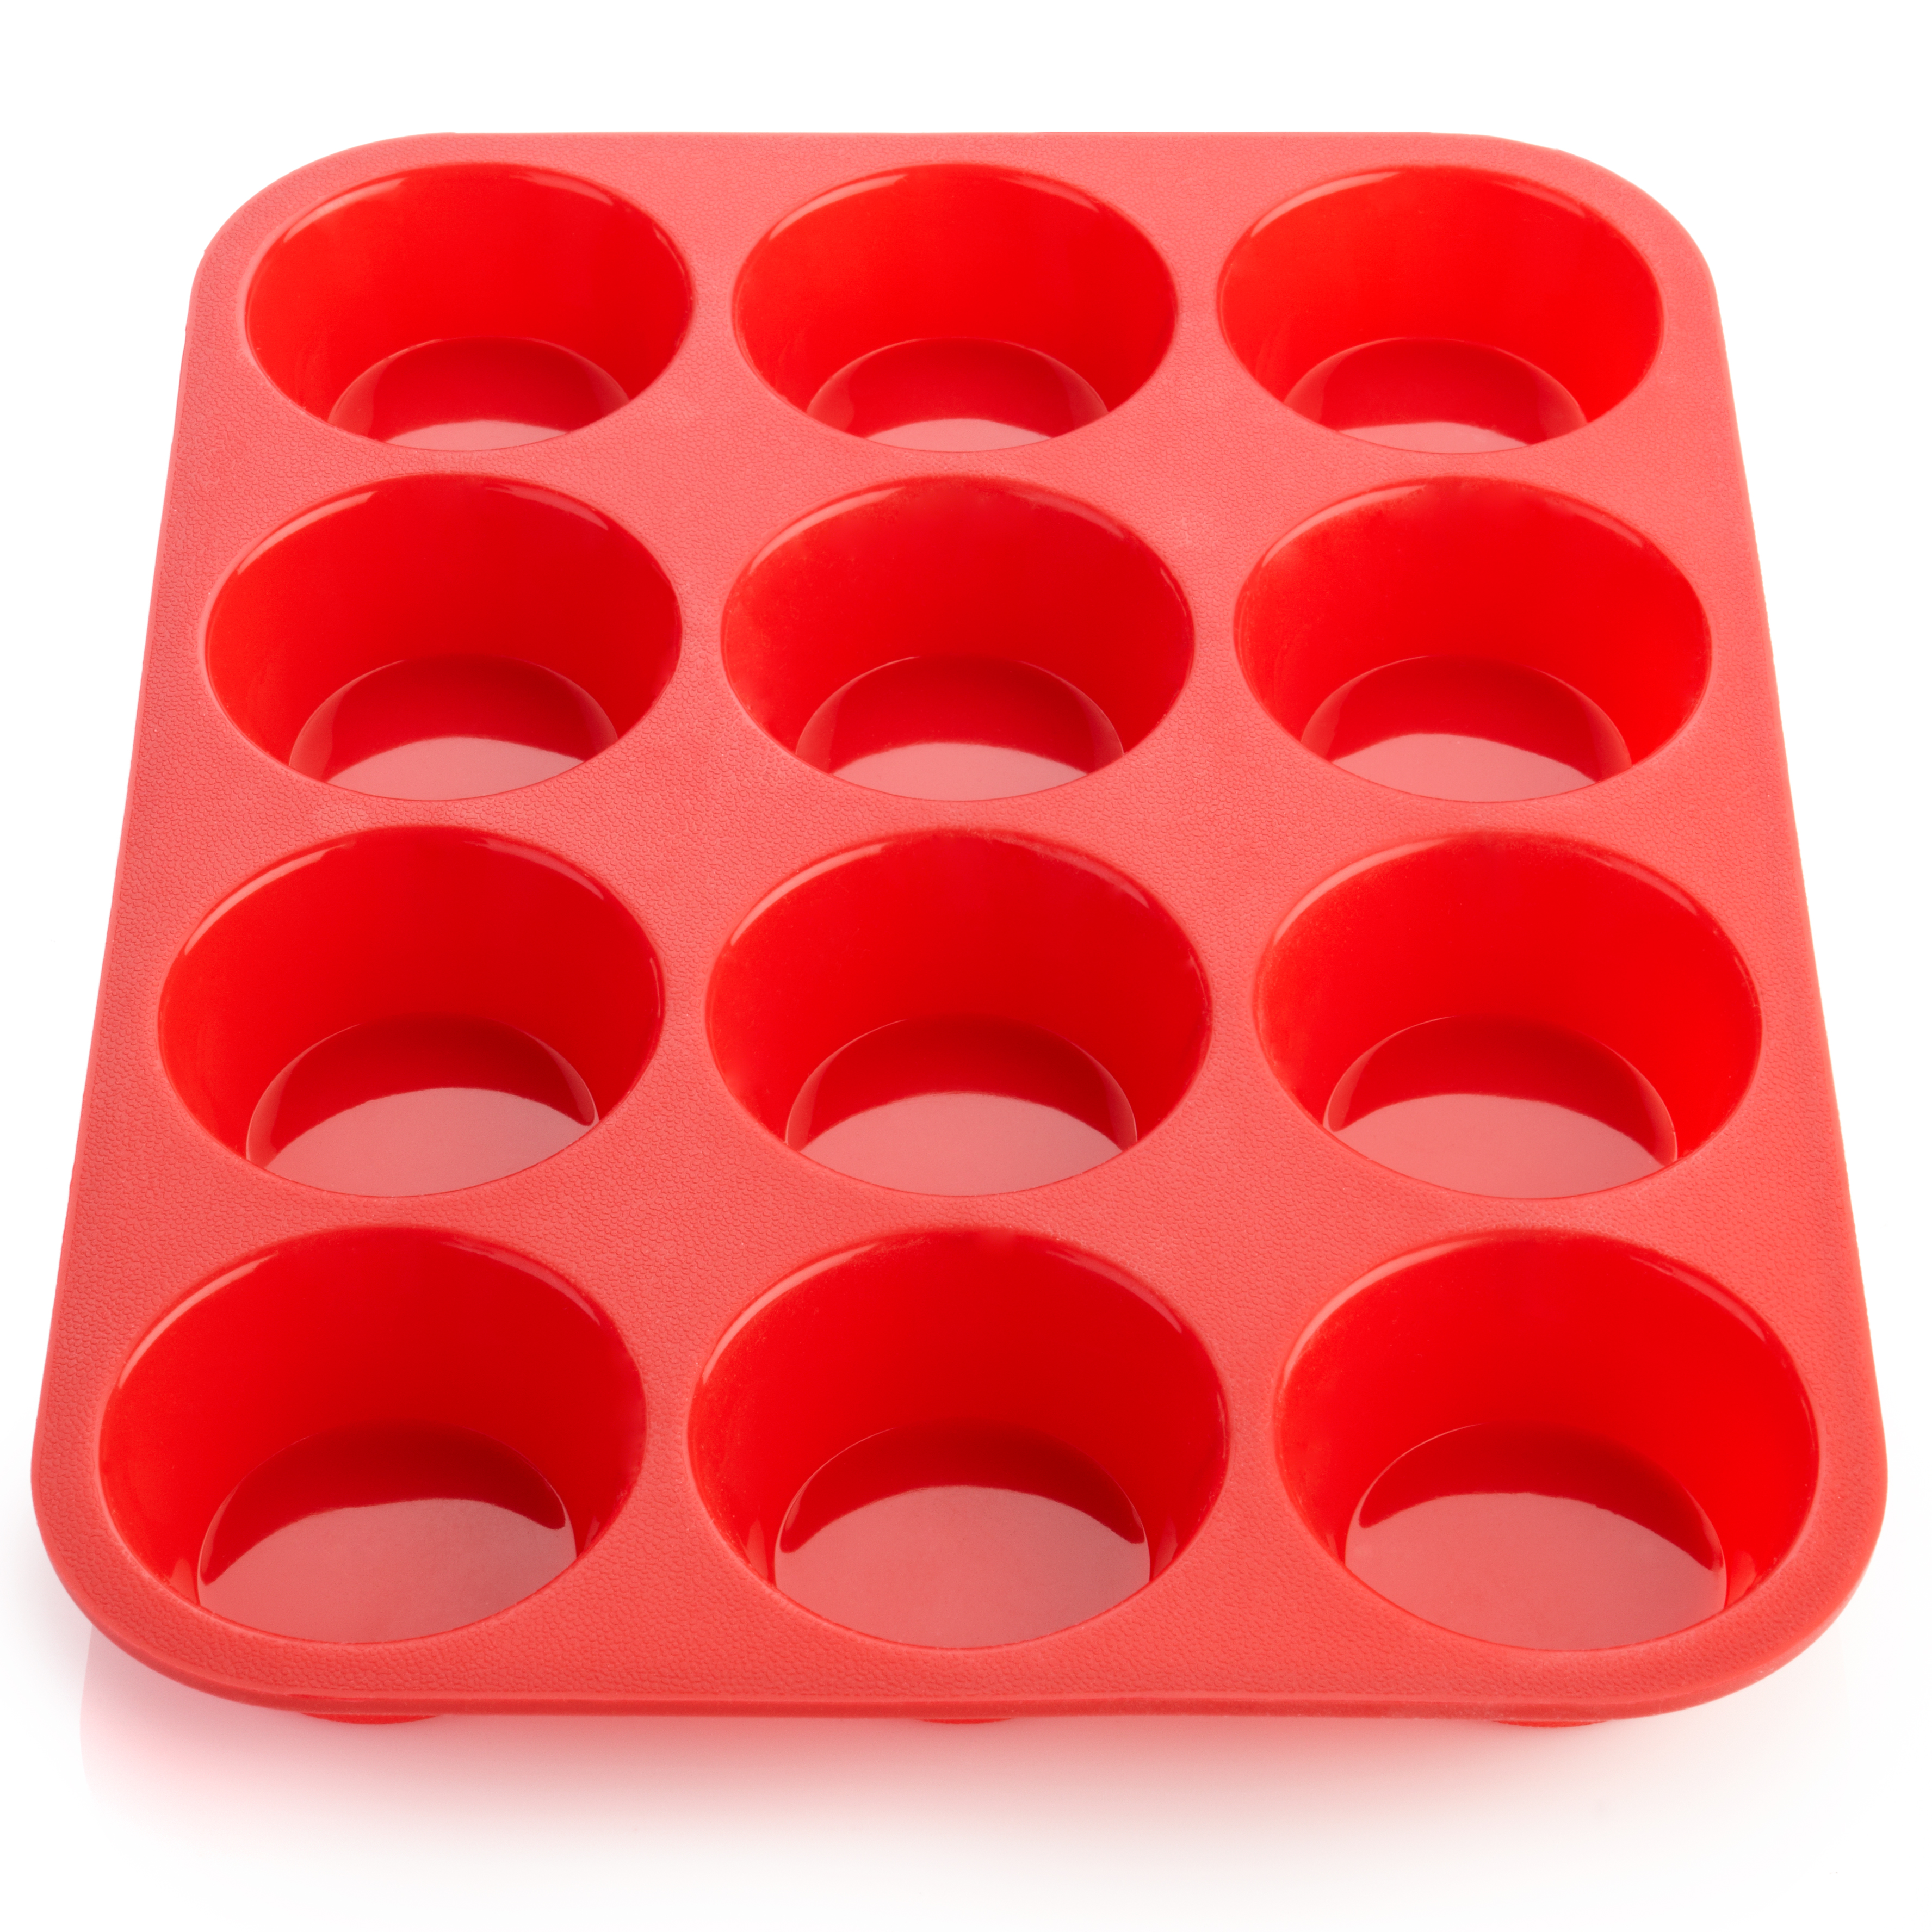
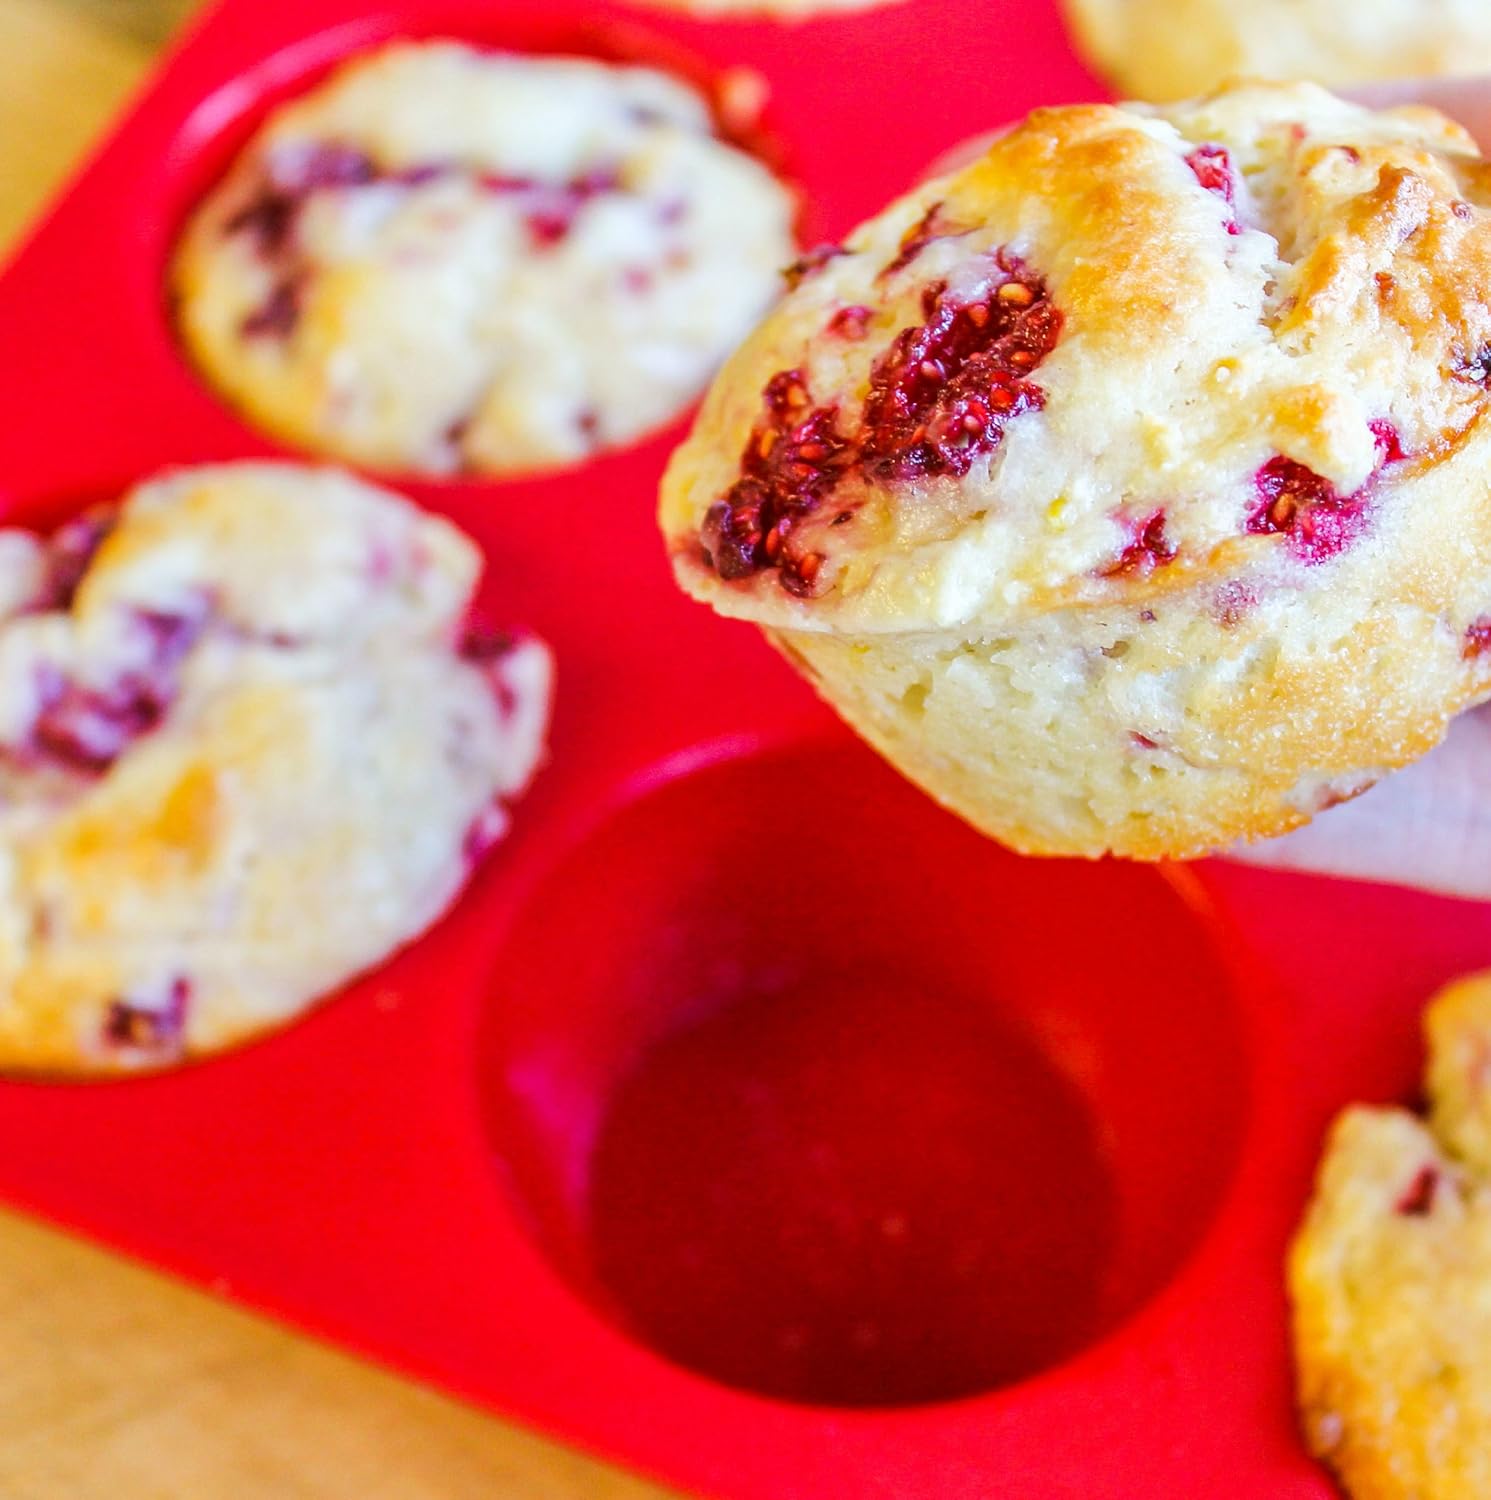
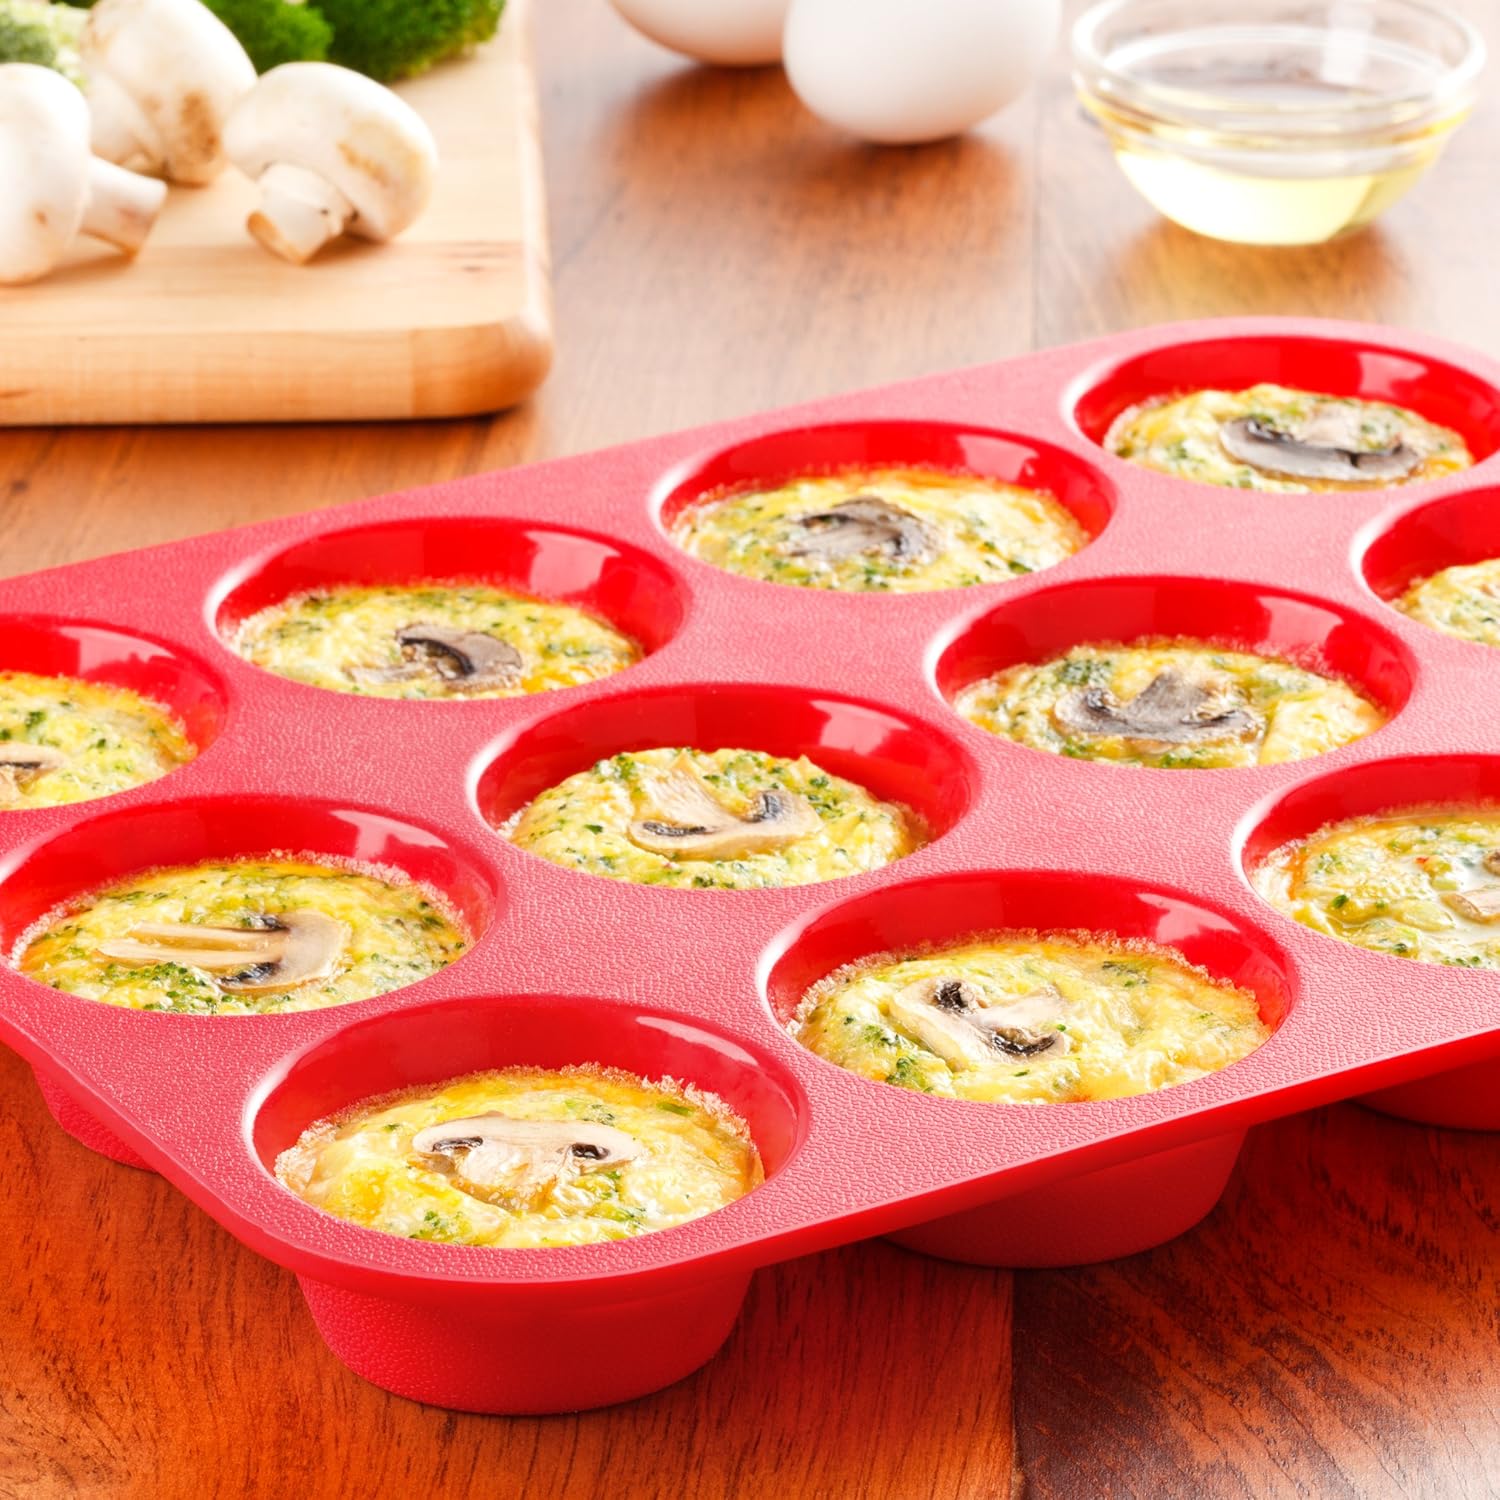
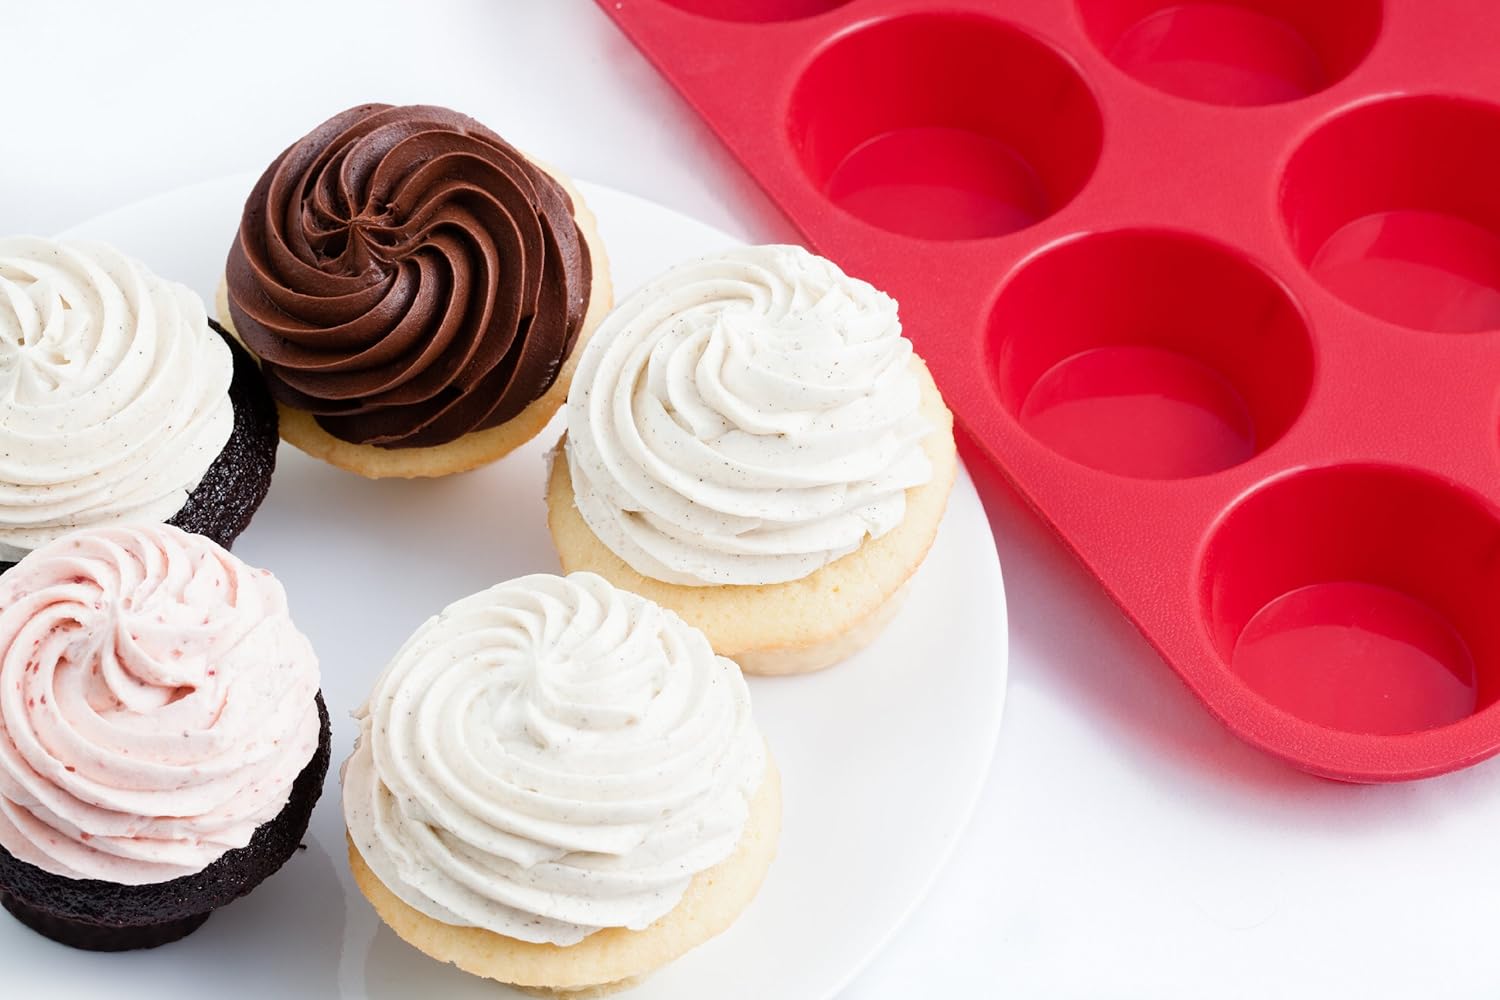
OvenArt Bakeware Silicone Muffin Pan Review


OvenArt Bakeware Silicone Muffin Pan Review


Getting ready for the Holidays??
For stress-free baking and scrub-free cleaning this Holiday season you must check out this wonderful silicone muffin pan by OvenArt Bakeware.


OvenArt Solves The Problems of Metal Muffin Pans
As you probably know, metal muffin pans have frustrating drawbacks. Metal rusts, wraps, and wears down with use. Stuck-on food is annoying and a nightmare to clean. And then there are the chemical nonstick coatings that eventually scrape off and only leave you wondering if it all went into your food.

A Nonstick Muffin Pan That's Worth It
We make our much loved silicone muffin pan with an expensive grade of pure 100%, high quality European silicone. Soon, you'll be confidently turning even the stickiest and messiest recipes into delightful muffins, cupcakes, cornbread, egg muffins and more. Food will slide out effortlessly and bake perfectly every time using your safe, BPA-free, filler-free, and worry-free silicone bakeware.


Cleanup Is A Breeze
Isn't it annoying to have to soak and scrub a pan? You'll really appreciate how easy this muffin pan cleans up. The magic nonstick baking cups clean with a little detergent and water or you can toss the pan in the dishwasher. With such an easy cleanup, why stop at making muffins and cupcakes? Enjoy delicious non-muffin recipes such as taco cups, crab cakes, mini lasagnas, and frozen desserts (it's safe for the oven, freezer, microwave, and dishwasher).


Perfect For First-Time Silicone Bakers
New silicone users love the results batch after batch. They enjoy healthy homemade treats and save on store-bought packaged goods. This high quality muffin pan is protected by the OvenArt "Better Muffin" Guarantee for lifetime assurance against defects and performance issues.


Get OvenArt today and bake better! 

I received one or more of the products mentioned above for free using Tomoson.com. Regardless, I only recommend products or services I use personally and believe will be good for my readers.


(All posts may contain affiliate links. Read my disclosure policy
here.)


Click here to support my blog on Top Mommy Blogs

Saturday, September 13, 2014

Homemade Cinnamon Rolls


1unnamedLauren from The Stauffer Home shared this delicious looking Homemade Cinnamon Roll Recipe with us.

I have been pondering the addition of raisins and maybe walnuts? You know I am a rule breaker rebel that can't really follow directions, but that is why you love me and it's what makes us friends, right?

So, I have this friend on facebook. That is right I have never met her in person but I absolutely adore her. We met through a Scentsy Consultant group years ago. She has since left Scentsy to better herself and her family. She still loves Scentsy and all of us consultants but she started her journey with Plexus and it is the BEST fit for her. You are her friend not her customer or client. You should really take a few minutes to like her facebook page. I highly suggest following her page, she inspires even if you aren't trying to get fit or lose weight...she will inspire your life with just her smiles and encouragement. Well, along these years of facebook friendship I have been jealous of the family life Ashley provides. Her kids are so lucky! She makes a craft room, study room, and decorates their rooms with them, she cooks so many things at home. Then she likes to tease all of us with a picture on facebook. I personally loved this one and tried it myself. You should definitely make this tonight or tomorrow morning before you head out to church. They are absolutely delicious and you cannot just eat one ... I promise. 

Homemade Cinnamon Rolls
Ashley Osborn 

INGREDIENTS: 

DOUGH: 
1/4 -ounce package yeast 
1/2 cup warm water 
1/2 cup scalded milk 
1/4 cup sugar 
1/3 cup butter or shortening 
1 teaspoon salt 
1 egg 
3 1/2 to 4 cups all-purpose flour 

FILLING: 
1/2 cup melted butter, plus more for pan 
3/4 cup sugar, plus more for pan 
2 tablespoons ground cinnamon 
1/2 Cup packed brown sugar 

FROSTING: 
4 oz cream cheese, room temperature 
4 oz butter or margarine, room temperature 
2 c powdered sugar 
1/2 tsp pure vanilla extract (for a twist try caramel flavoring instead) 
1/4 tsp lemon extract

Click here for full directions!

(All posts may contain affiliate links. Read my disclosure policy
here.)


Click here to support my blog on Top Mommy Blogs

Wednesday, September 10, 2014

Heavenly Lemony Lemon Cookies

Screen Shot 2014-09-09 at 7.48.56 PM

My youngest loves all things Lemon, but me, not so much. But these little lemony pieces of Heaven are to die for! So tasty and easy to make! You gotta try these! Yum!!

I always say I am not a big lemon person but I have an amazing recipe for Lemon Cake, Lemon Brownies, Lemon Bars, Lemon Cookies, Lemon Chicken, Lemon Rice, Lemon Pasta...you get the hint. These are absolutely amazing cookies. I like to make them once every month or so and they are always devoured within a few days of being made. I hope that you will try them out!

Lemon Cookies

Ingredients:
Lemon Box Cake Mix
2 Eggs
⅓ Cup Oil
3 TBSP Lemon Juice


Get the full directions here! 


(All posts may contain affiliate links. Read my disclosure policy
here.)


Click here to support my blog on Top Mommy Blogs

Friday, September 5, 2014

Easy Homemade Peanut Butter Cookies

Enjoy these with a tall glass of milk, you will need it.
Enjoy these with a tall glass of milk, you will need it!


Easy Homemade Peanut Butter Cookies


Sometimes you just need to make a peanut butter cookie, curl up on the couch and read a book. This is a totally awesome recipe for comfort cookies. These are not the type of peanut butter cookies that you will want to top with chocolate kisses. These are thin, chewy, and delicious peanut buttery goodness.

Ingredients: 
1 cup peanut butter 
1 cup white sugar 
1 cup brown sugar 
2 eggs 

I know so simple right?! Get the directions, here. Enjoy these with a tall glass of milk, because you will need it!


(All posts may contain affiliate links. Read my disclosure policy
here.)


Click here to support my blog on Top Mommy Blogs